


攻略日期:2014-05-24
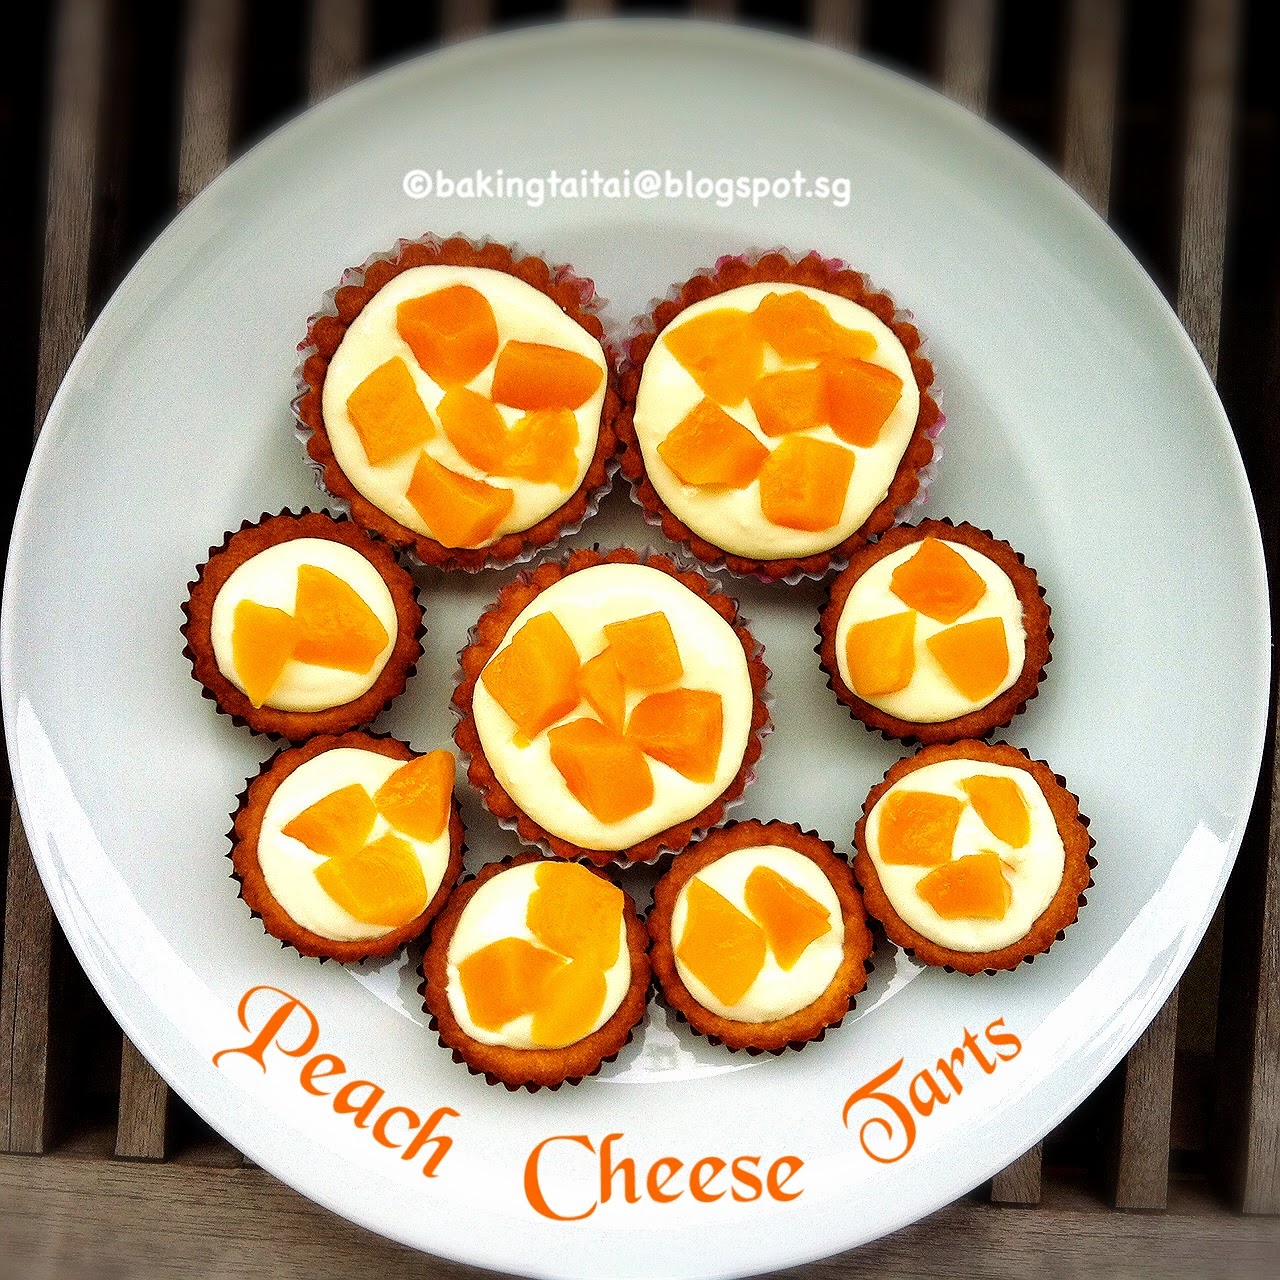
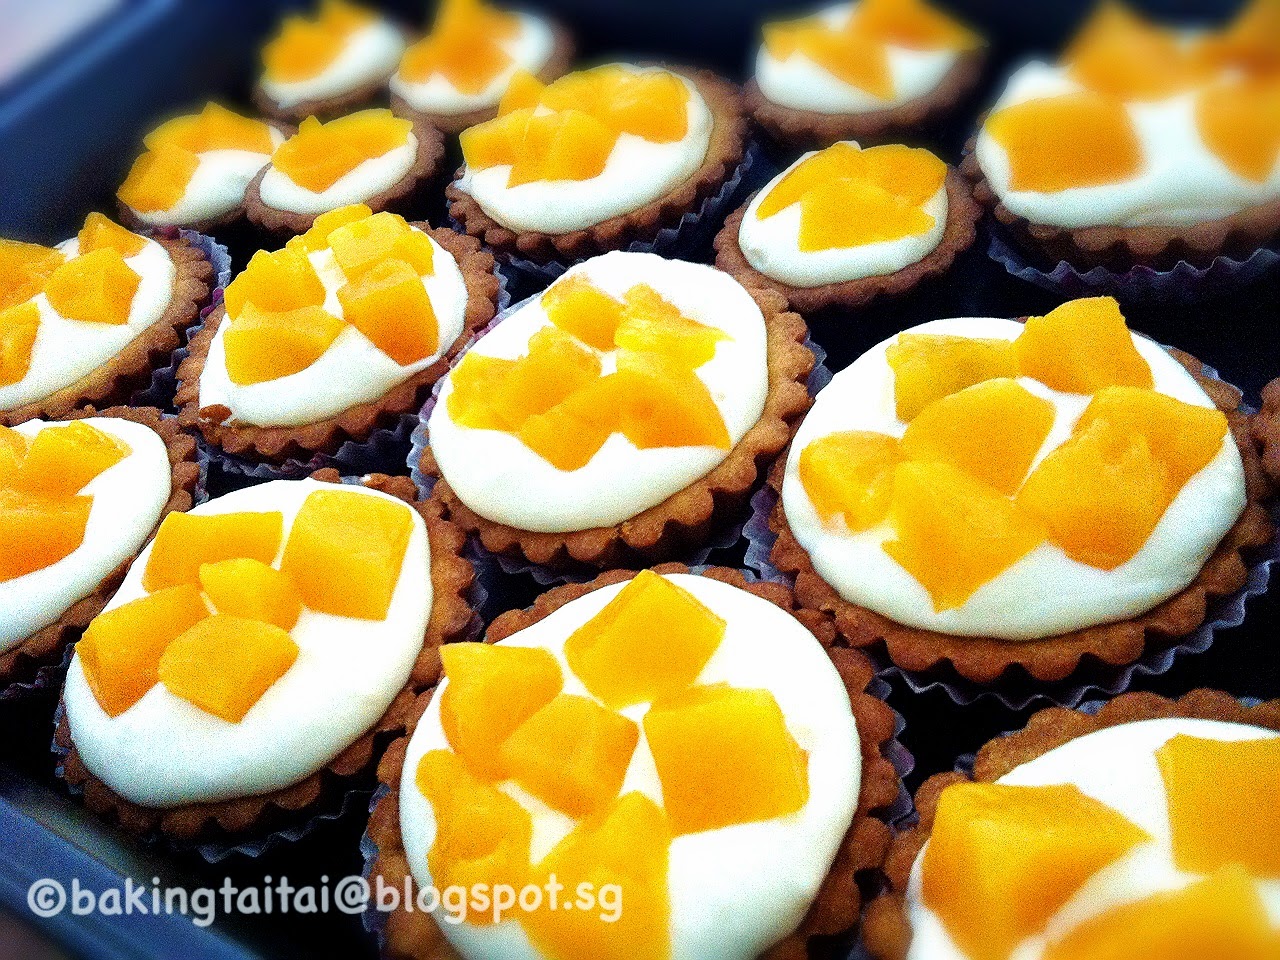
Last week, I used the SunMoon fruit cups to make the Mixed Fruits Swiss Roll, this week I have used the second variant of these fruit cups to make some healthy Peach Cheese Tarts. This recipe originally uses sour cream as one of the ingredient. For a healthier choice, I have replaced it with Greek Yogurt. These fruity Cheese Tarts is really appetizing and great for an after meal dessert.
Peach Cheese Tart 蜜桃芝士挞
Ingredients:(makes twelve 5cm and ten 7cm tarts)
For Tart Pastry:
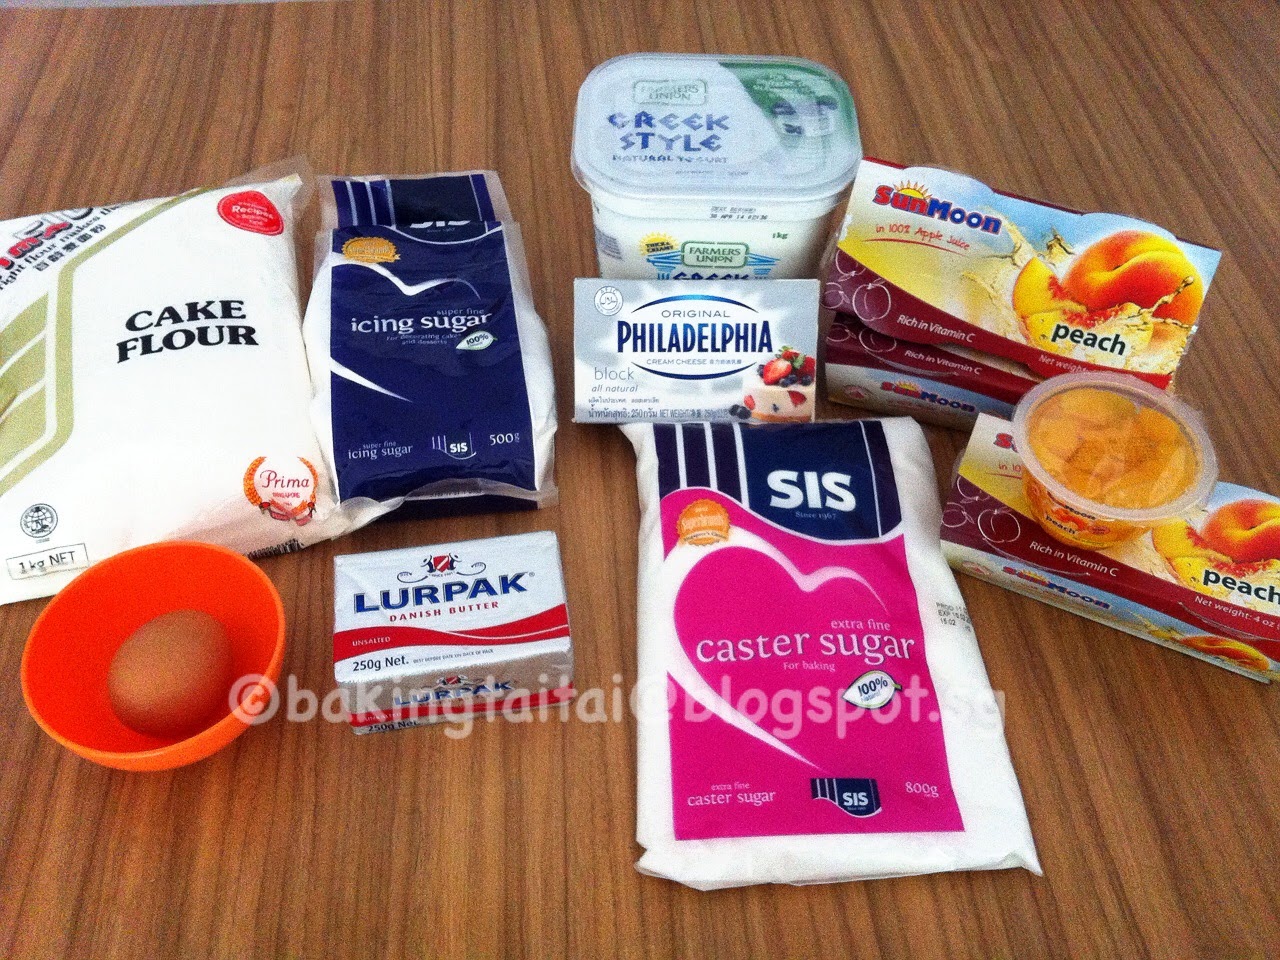
200g Cake Flour
120g Unsalted Butter (soften at room temperature)
60g Icing Sugar
1 Egg Yolk
For Fillings:
220g Cream Cheese
100g Greek Yogurt
50g Caster Sugar
2 tablespoon Apple juice from the fruit cup
Toppings:
4 Peach Fruit Cups
** If you are living in countries other than Singapore or Indonesia where these SunMoon fruit cups are sold, you can replaced with canned Peaches and Pure Apple Juice for this recipe.
材料: (可做十二个5厘米和十个7厘米的挞)
挞皮材料:
200克 低筋面粉
120克无盐黄油(软化室温)
60克糖粉
1蛋黄
馅料:
220克 奶油奶酪
100克 希腊酸奶
50克 砂糖
2大汤匙 水果杯的苹果汁
挞面:
4 杯 蜜桃水果杯
** 除了新加坡和印尼,在外国买不到SunMoon的牌子,可以用其他罐头蜜桃和纯苹果汁代替。
Methods 方法:
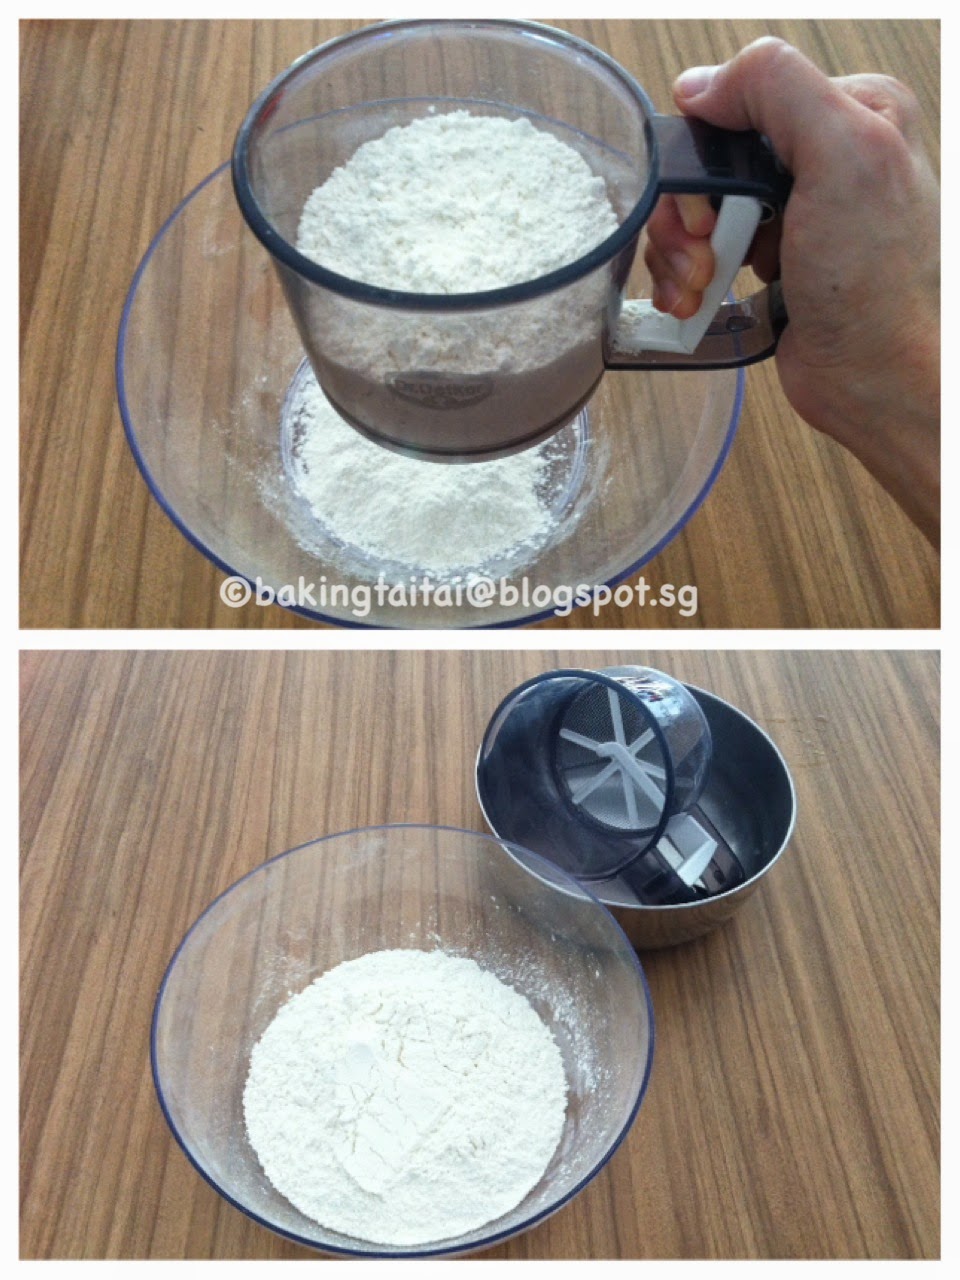
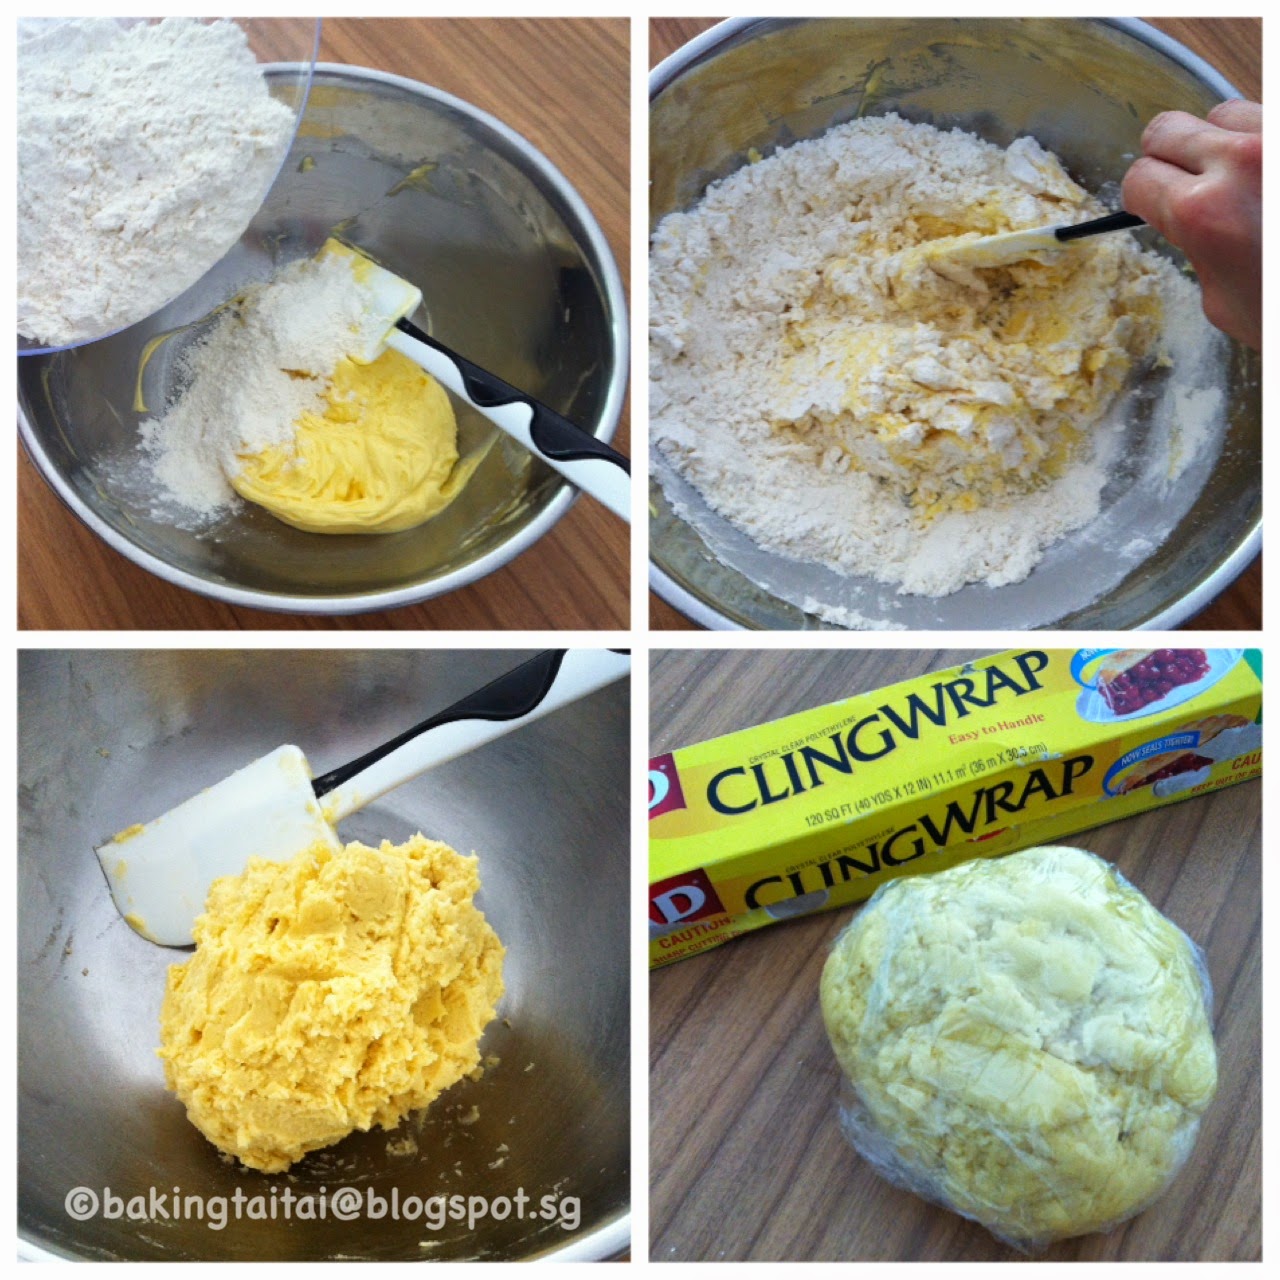
1. Seive cake flour. Set aside.
1。低筋面粉筛匀, 备用。
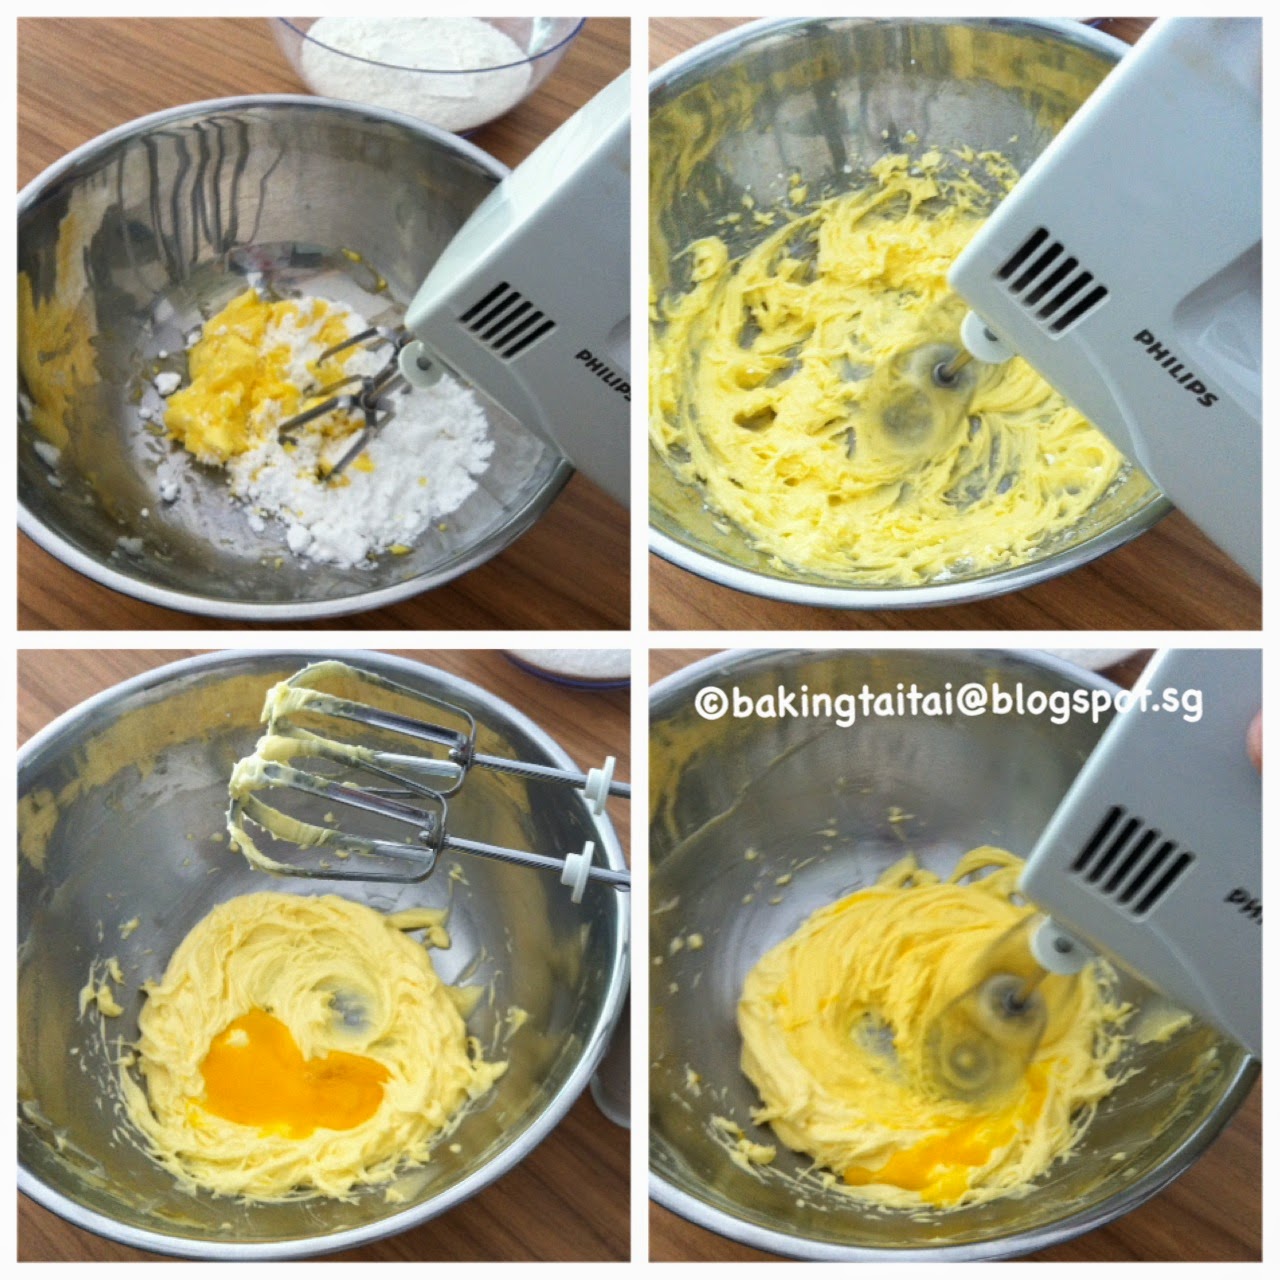
2. Use an electric mixer, beat the butter and sugar until smooth. Add in egg yolk and continue to beat till well combined.
2。用电动打蛋器把牛油和糖霜打至滑,加入蛋黄拌均匀。
3. Fold in the flour and knead into a a dough. Wrap the dough using a cling wrap and refrigerate for at least an hour.
3。拌入面粉搓成面团。用保鲜纸包好冷藏1小时以上。
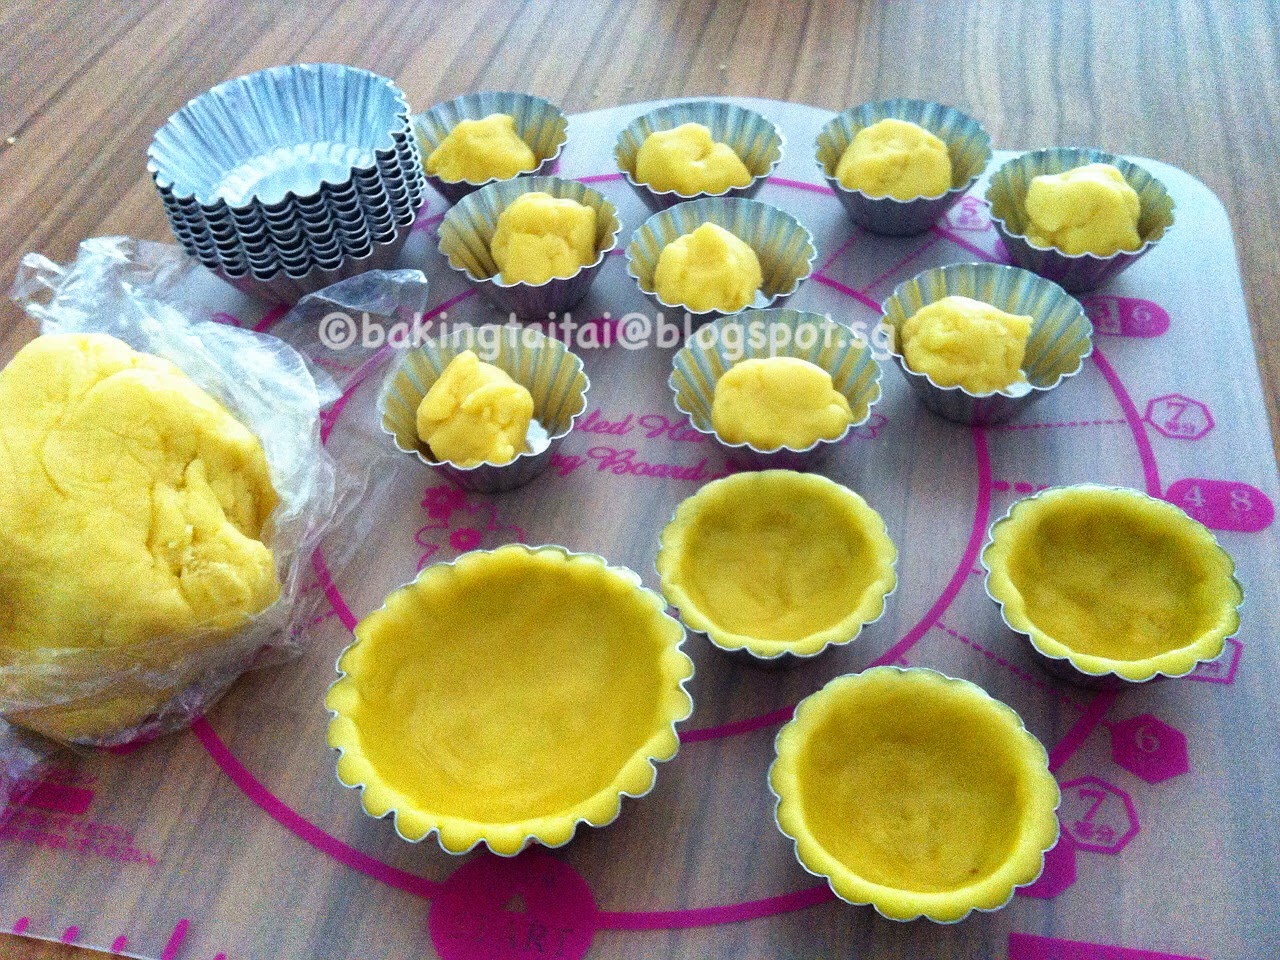
4. Take the dough out, divide into balls of 14g for 5cm tart moulds and 23g for 7cm tart moulds. (make sure you grease the tart moulds first)
4。取出面团,分成14克的挞皮做5厘米的挞,分成23克的挞皮做7厘米的挞 (记得挞模要扫油,烤后才容易把挞倒出来)
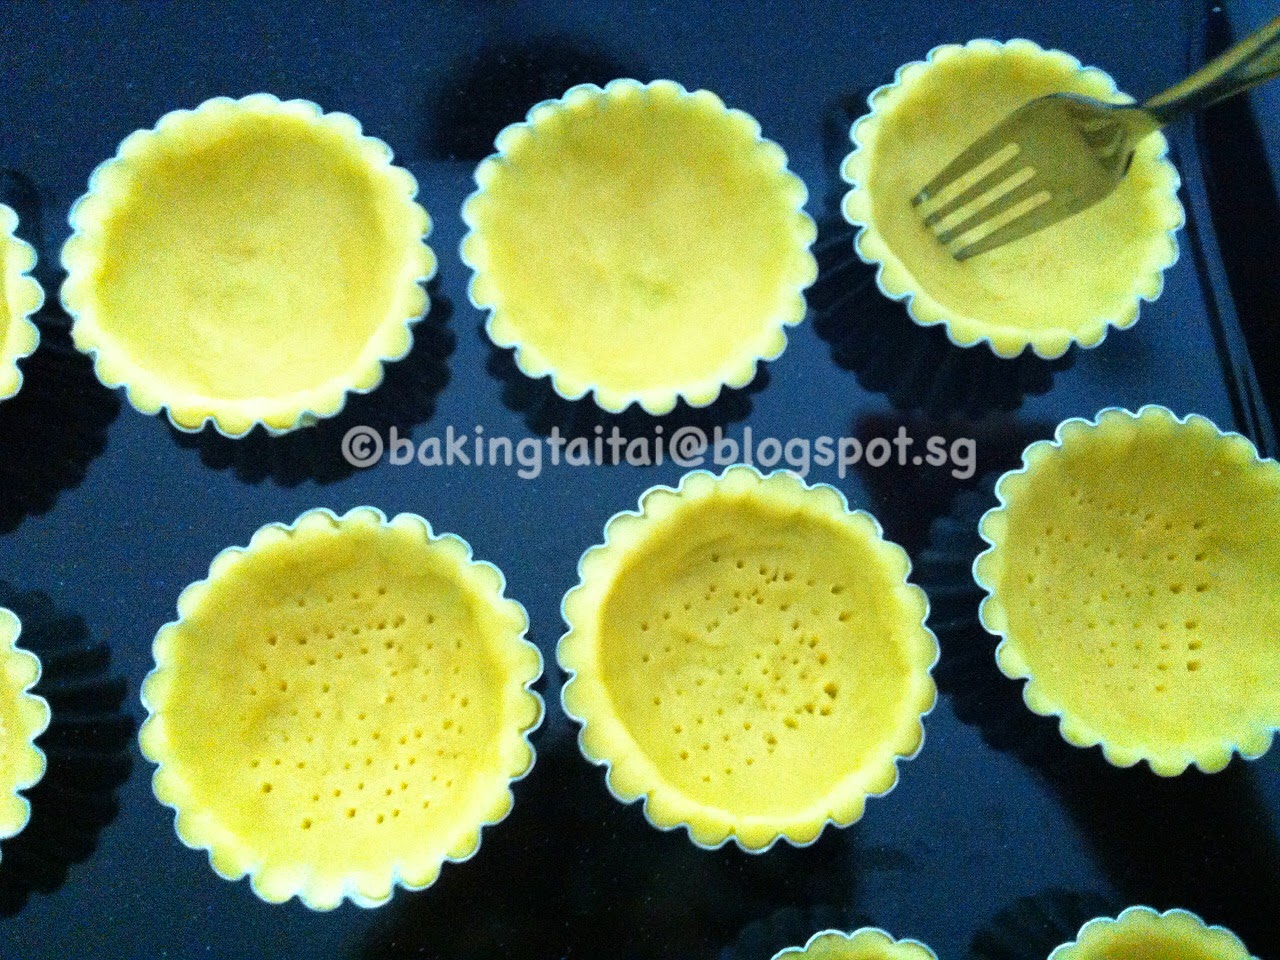
5. Press one tart crust into each mould. Press the edges of the crust gently to fit the moulds. Refrigerated for 30 minutes.
5。用手指把挞皮压好边位,放入冰箱约30分钟。
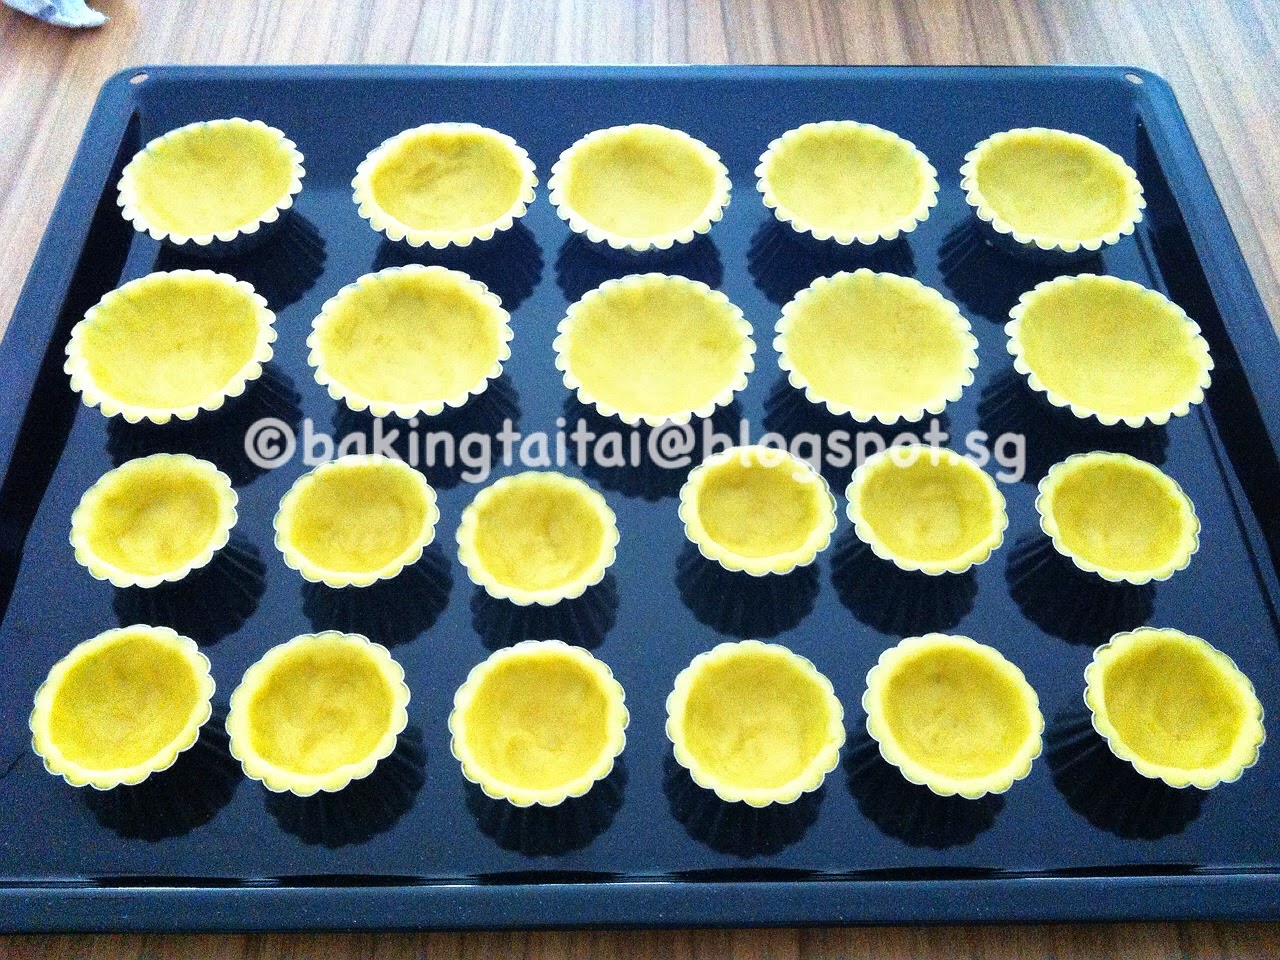
6. Prick holes on the tart crusts with a fork. Bake in preheated oven 180 degrees bottom heat for 10 to 15 minutes until golden colour. (For my brandt oven FP 1067 XS,I used the bottom pulsed element function which is great for baking tart base and baked for 10 minutes.)
6。用叉子在挞皮底部刺孔,放入已预热180度下火的烤箱烘10至15分中至金黄。
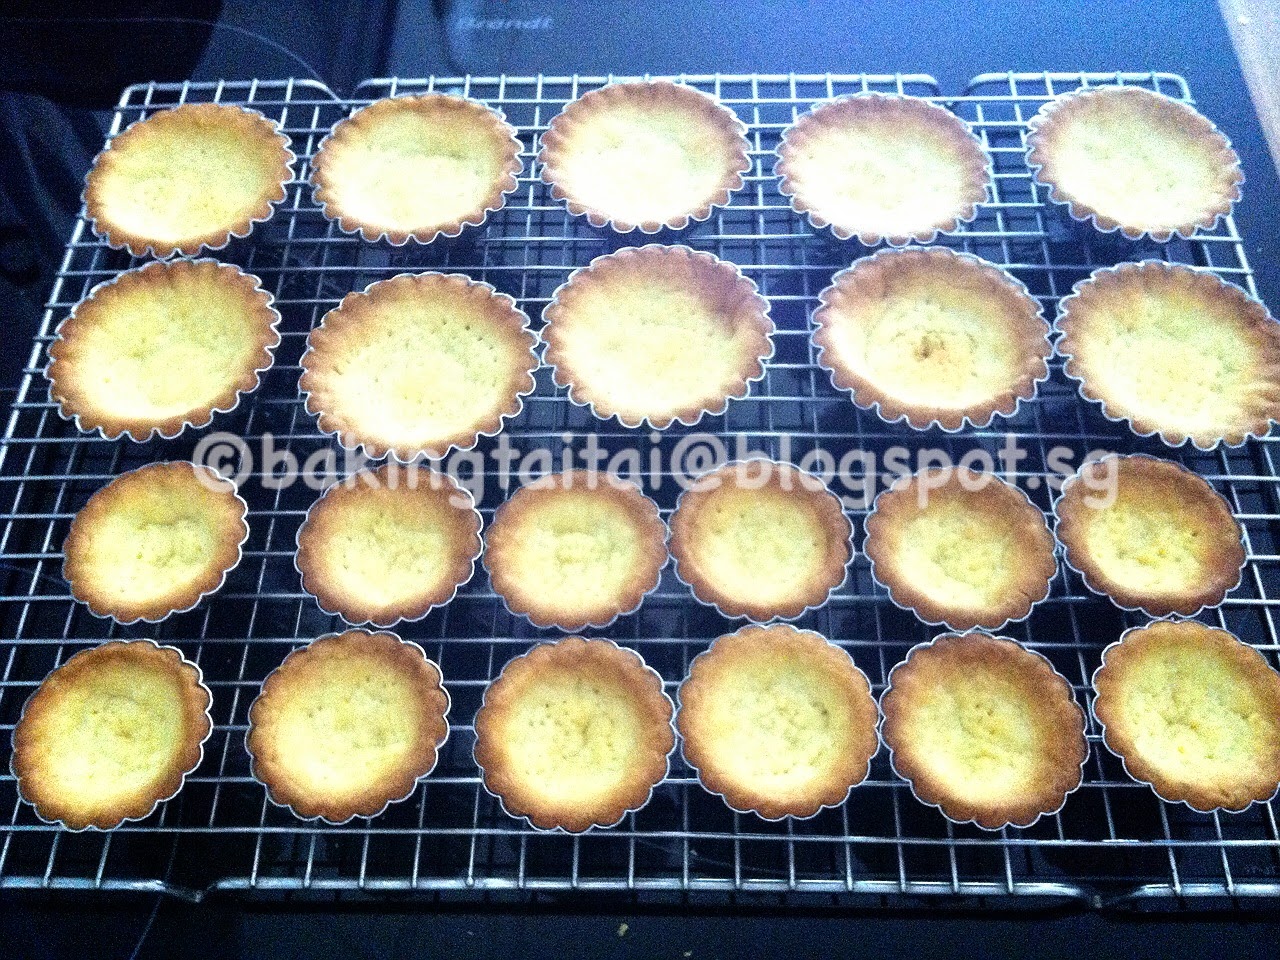
7. Unmould and leave them to cool on the cooling racks.
7。从烤炉取出后,倒出挞皮, 放在凉网散热。
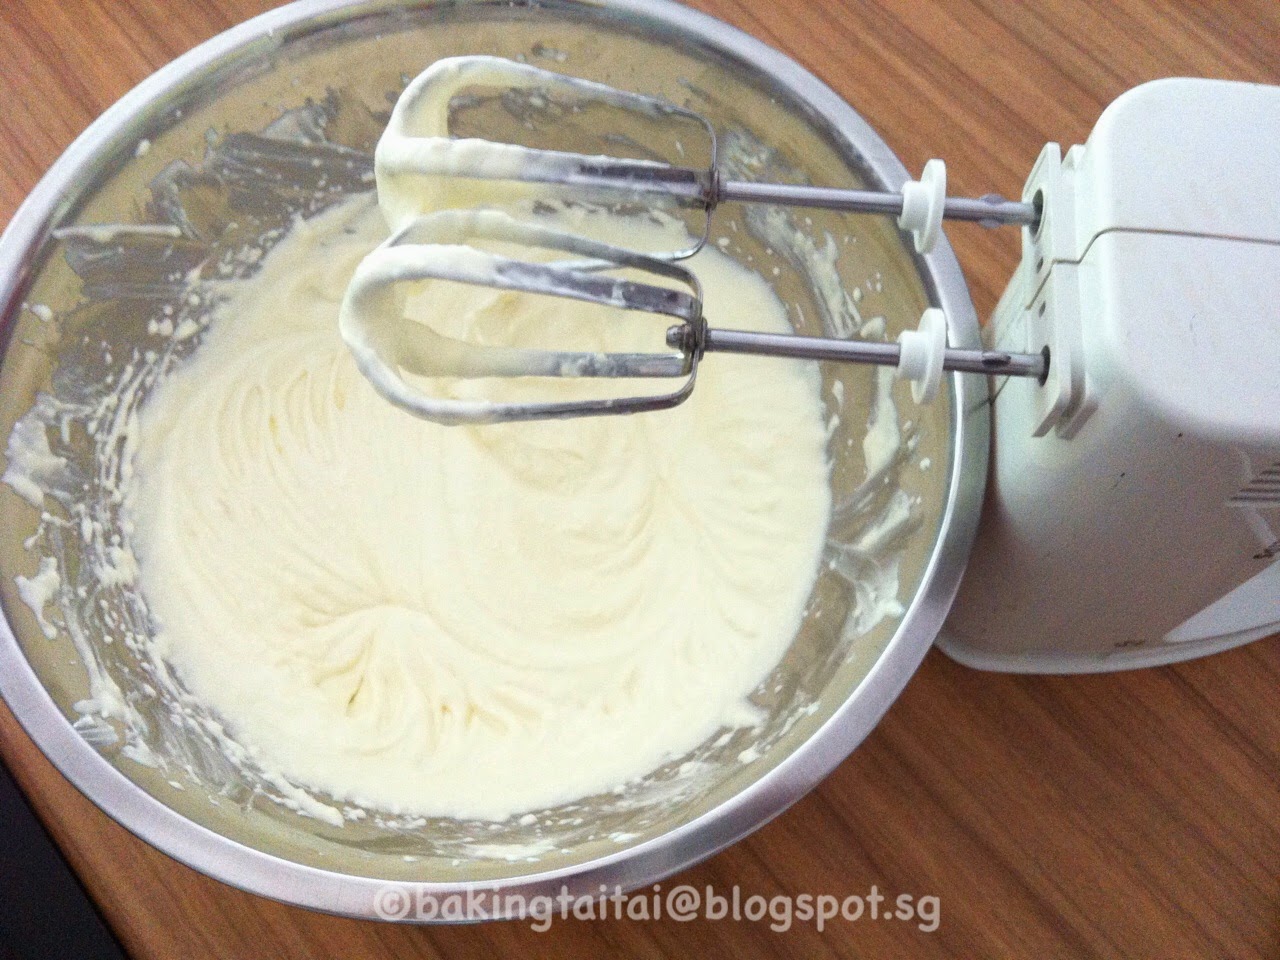
8. Use the electric mixer to beat the cream cheese and icing sugar until smooth. Then add in the yogurt and apple juice and beat till well combined.
8。用电动搅拌器把奶油奶酪和砂糖打至滑, 再加入酸奶和苹果汁, 搅拌均匀。
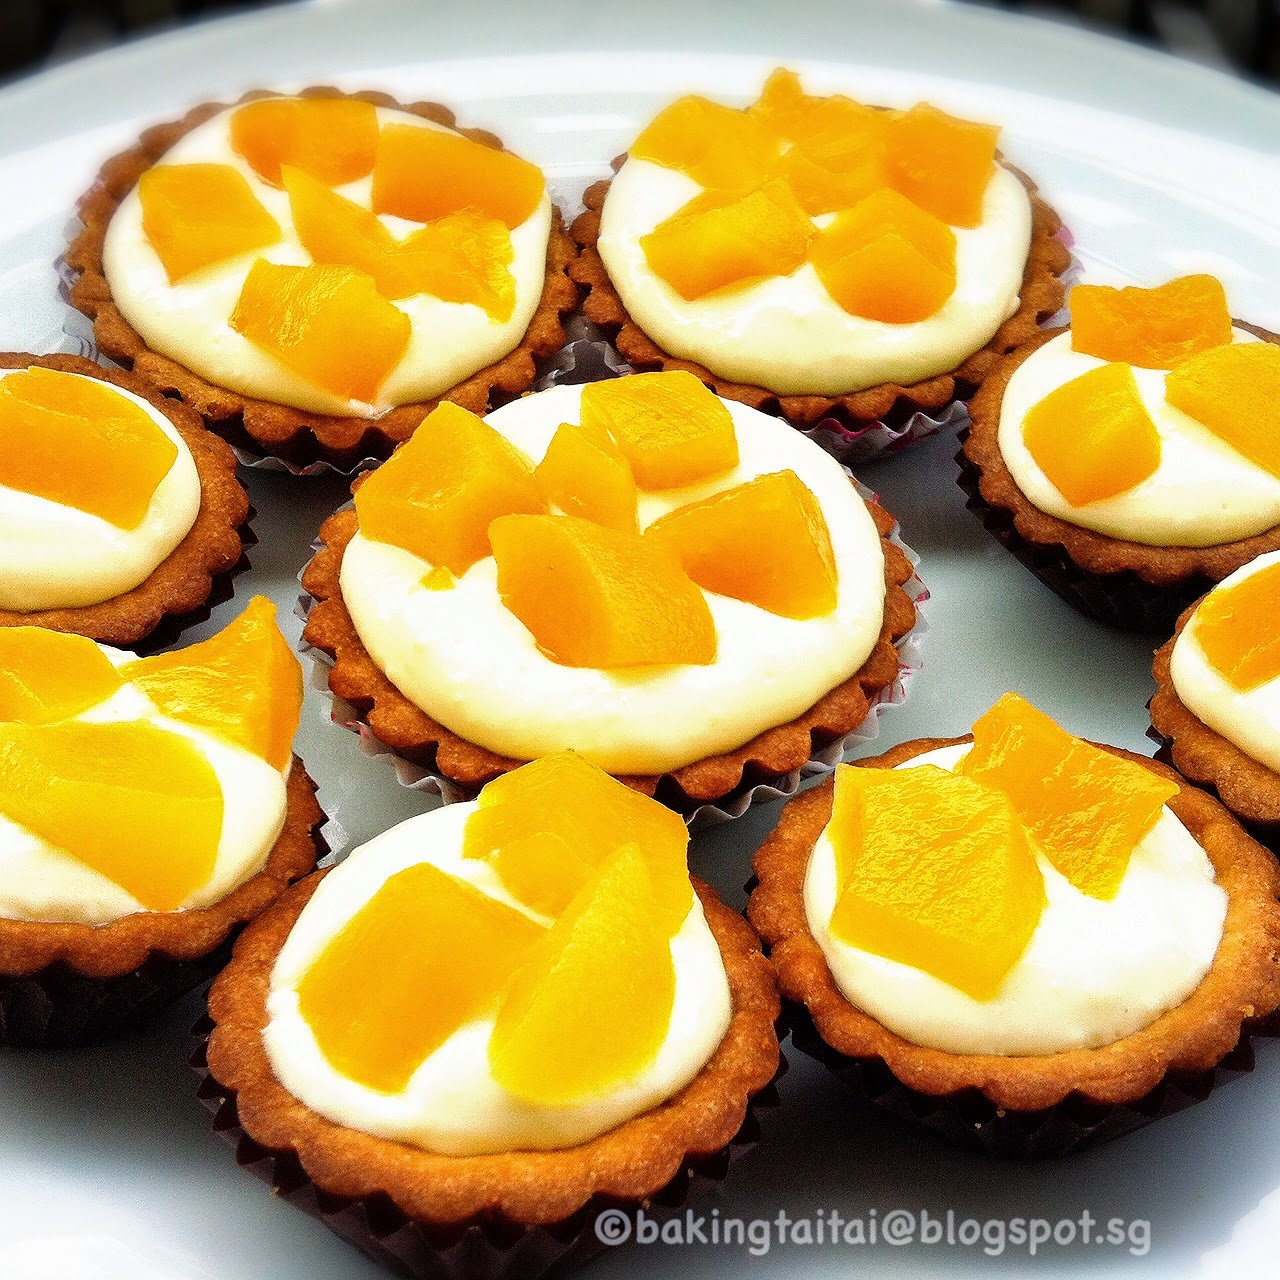
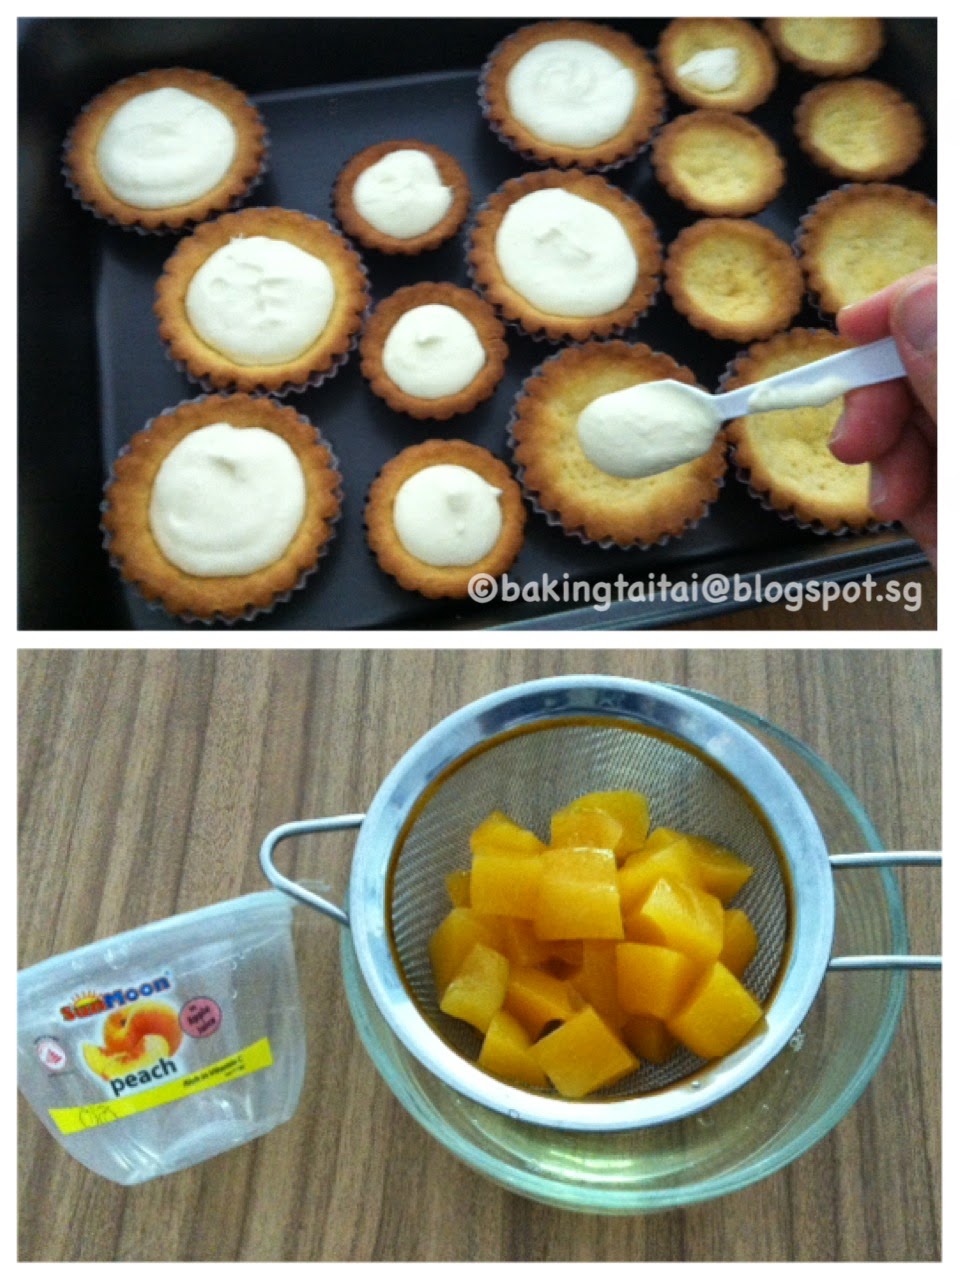
9. Divide the filling among the tarts. Drain the peach fruit chunks and arrange it on the tarts. Serve chilled for better taste!
9。馅料分盛挞中,杯子蜜桃过滤,摆在挞上, 即成美味甜点。冷藏后更好吃!
Recipe is adapted and modified from 'Slimming Dessert' baking book. Photos are personally taken with an iphone, sometimes with just one hand while working with the other.
“It takes time and effort to compose or translate recipes, I would appreciate it if you do not copy and pass it off as your own recipe. If you wish to share or adapt any of the recipes that I have posted in this blog, please provide a link back to the relevant post here. Thank you.”
编写或翻译食谱需要时间和精力的,请不要复制或将它作为自己的食谱。如果你想分享在我部落格的任何食谱,请提供在这里的相关链接,谢谢。"
© Copyright 2014 bakingtaitai.blogspot.sg
Recipe link: http://bakingtaitai.blogspot.sg/2014/04/peach-cheese-tart-sunmoon-goodie-bag.html


 不過睇落太難整啦
 您好,其实这点心不难做,有空可以试一试。


